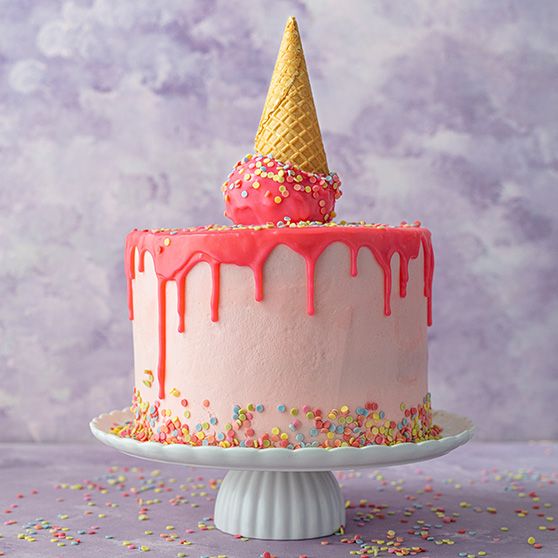
Presenting the ice cream cake for the person that can’t decide between ice cream or cake for their celebration.
As the years go by, we tend to stick to the tried and tested old recipes that are trotted out for every birthday, gathering or party. This recipe put together by Siúcra is a great one to have a crack at. It’s got a traditional sponge, with a buttercream icing aaaand a ganache drip.
Ingredients
For the sponge
400g butter, at room temperature
400g Siúcra Caster Sugar
8 large eggs
2 tsp vanilla extract
400g self-raising flour
2 tsp baking powder
4 tbsp milk
For the buttercream
550g Siúcra Icing Sugar
275g unsalted butter, softened
2 tsp vanilla extract
1-2 tsp milk
A few drops red food colouring
For the ganache drip
170g white chocolate, chopped
80ml double cream
Pink gel food colour
To decorate
Sprinkles
X1 ice cream cone
1 Preheat the oven to 190 ̊C/170 ̊C fan/gas mark 5. Line four 20cm round cake tins with non-stick parchment paper.
2. To make the sponges, in a bowl, beat together the butter and Siúcra Caster Sugar until light and fluffy.
3. Add the eggs one at a time, beating well after each addition. Stir in the vanilla.
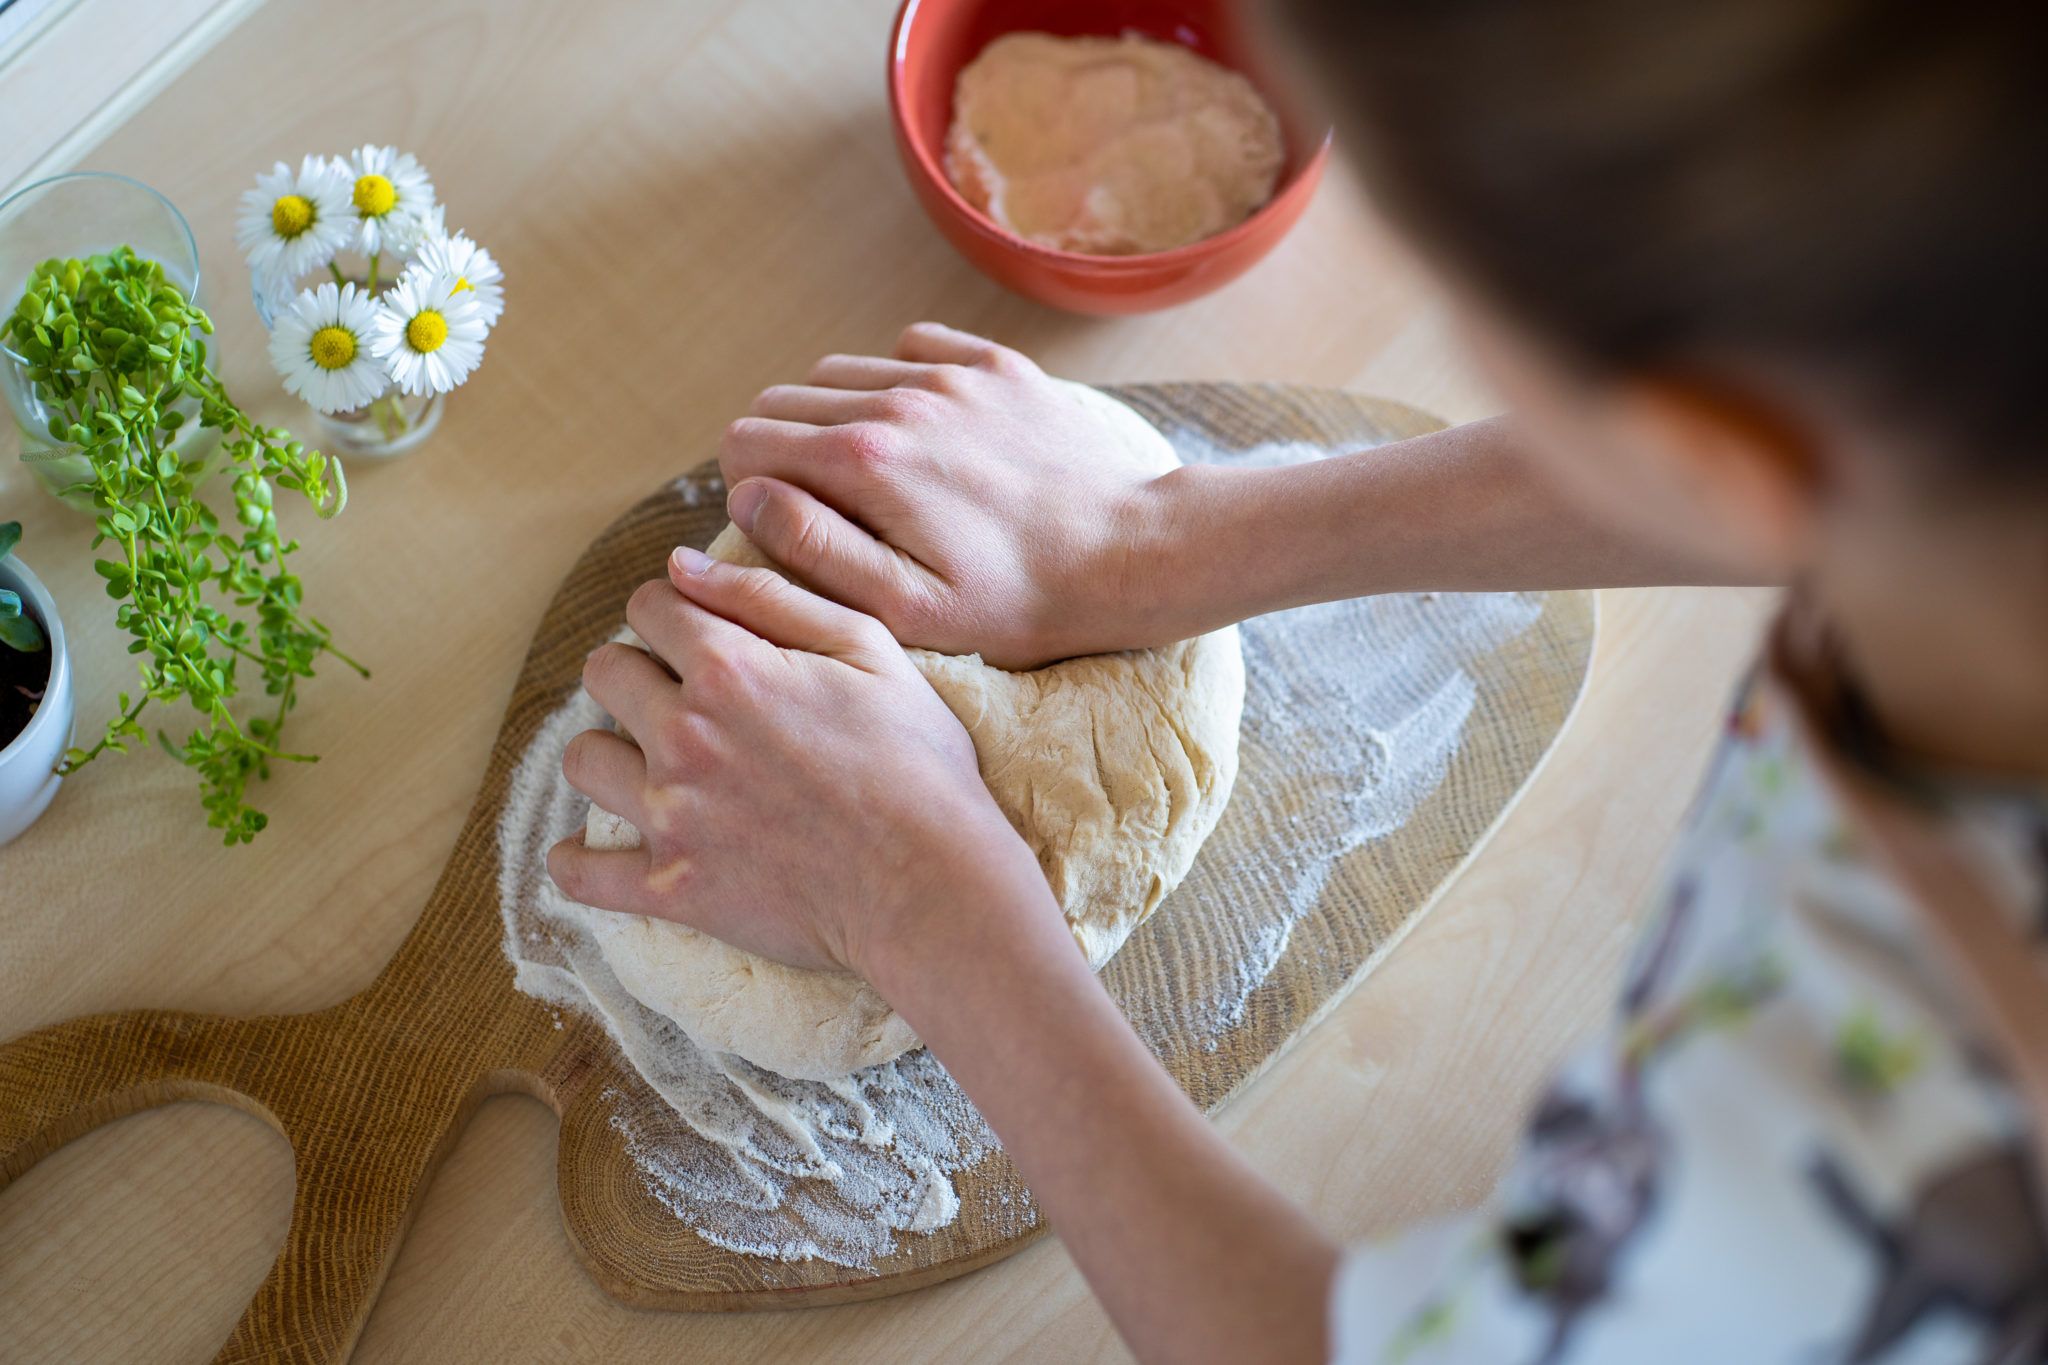
4. Sieve in the flour and baking powder. Add the milk and fold together until just combined.
5. Evenly divide the mixture between the prepared. Bake for 20-25 minutes or until a skewer inserted in the centre comes out clean.
6. Transfer to a wire rack and allow the sponges to cool completely. Level the cakes using a large, serrated knife. Reserve any cake scraps in a bowl and set aside for later.
7. For the buttercream, beat together the butter, Siúcra Icing Sugar, and vanilla until smooth. Add some milk until the buttercream is at a spreadable consistency. Stir in a few drops of red food colouring until your reach your desired colour. Set aside 3 tablespoons of buttercream for the ice cream cone.
8. To assemble the cake, place one sponge onto a cake board or serving plate, using a teaspoon of buttercream on the board to help the cake stick. Spread on some of the buttercream and add the next sponge on top. Repeat this step.
9. Using a palette knife or offset spatula, spread the buttercream over the top and sides of the cake, making sure to fill in any gaps. There will be crumbs in the icing, so place the cake into the fridge for 30 minutes to set.
10. Once set, spread over more buttercream to cover any crumbs and smooth out the buttercream. Push some sprinkles around the base of the cake, pushing them into the sides. Allow to set in the fridge until you are ready for the drip.
11. For the ice cream cone, crumble the reserved cake scraps using your fingers. Transfer the crumbs to a large bowl and add the reserved buttercream. Mix until thoroughly combined.
12. Roll the mix into a ball and smooth with your hands. Allow to chill in the freezer until ready to use.
13. For the ganache, place the chocolate and cream in a microwave-safe bowl. Heat on high power for 30 seconds and then stir until completely melted and smooth. Add pink food colour a little at a time until the desired colour.
14. Remove the cake from the fridge and place the cake ball in the middle of the cake. Use a spoon to drizzle some of the ganache onto the centre of the cake, avoiding the edges. Use a spoon to gently push the pooled ganache over the edges of the cake to create a drip effect. Reserve the unused ganache.
15. Use a spoon to cover the ball in the middle with ganache. Decorate with sprinkles. Allow the ganache to get in the fridge for 5-10 minutes.
16. Place the ice cream cone upside down on the cake ball in the middle at a slight angle and serve.
READ ON: Upgrade your lunchtime toastie with this TikTok recipe
